/design
Turn an idea into a visual canvas with layouts you can review, refine, and export.
THE /DESIGN + /DESIGN-SYNC GUIDE
From the reel to your first canvas. Set up the commands, create a design, and bring your brand’s components with you.
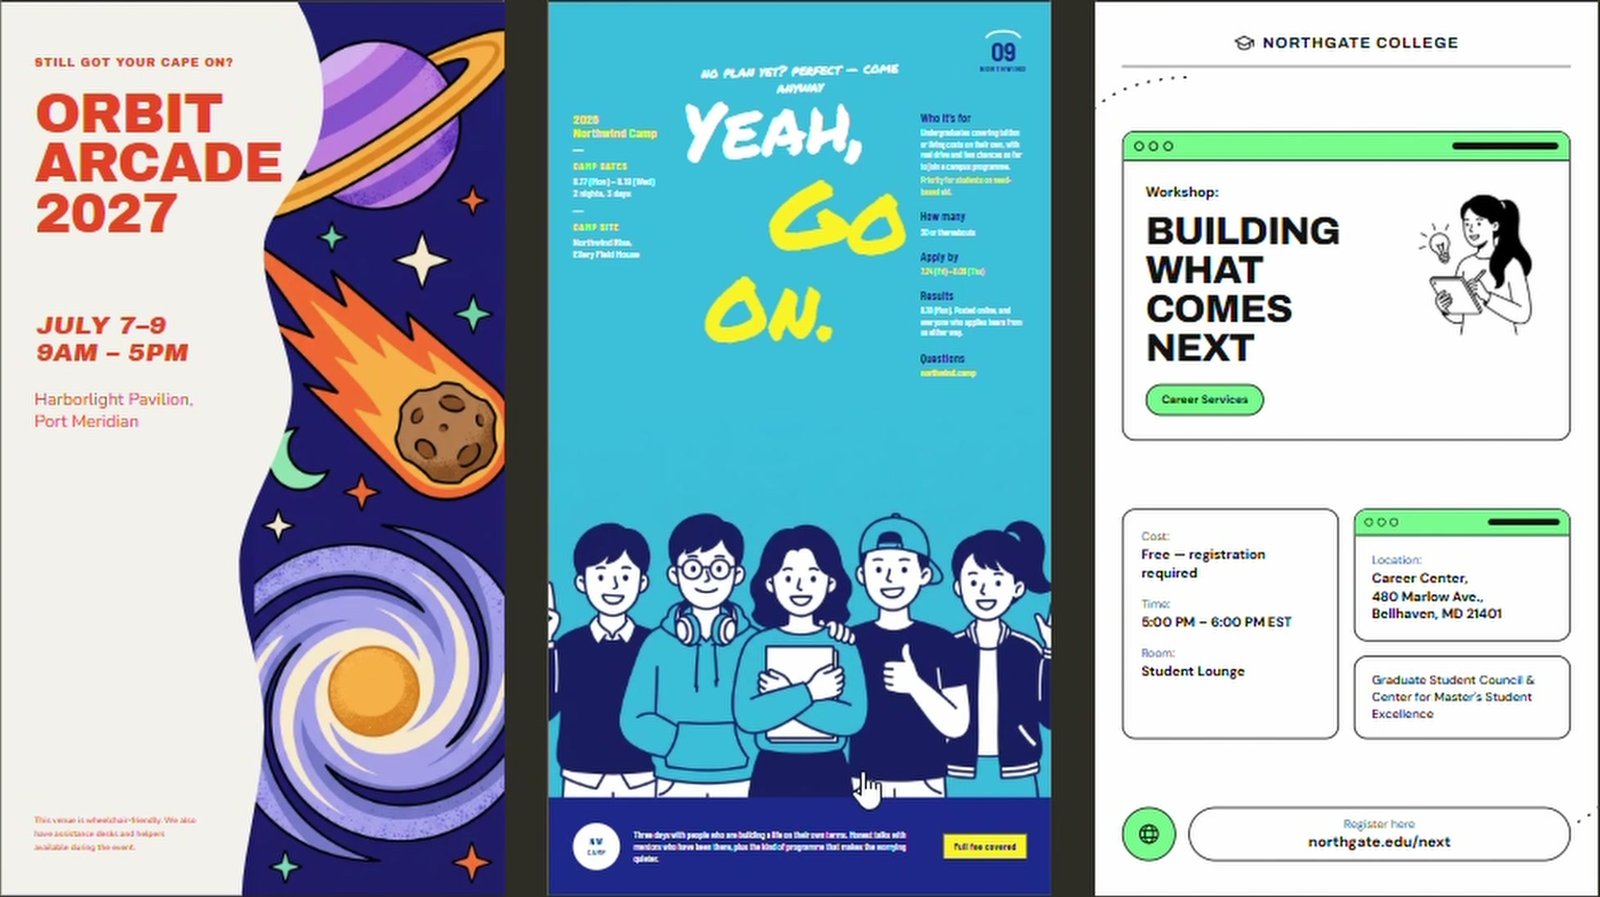
/designOne idea.Real output from the video. Your next design starts here.
Know the difference
/designTurn an idea into a visual canvas with layouts you can review, refine, and export.
/design-syncImport your React component system into Claude Design so your brand has a starting point.
This guide uses Claude Code, Claude’s coding app that runs in your terminal. Its built-in /design workflow opens a visual canvas. You can describe the result in plain English.
Use a Pro, Max, Team, or Enterprise account with Artifacts available. Enterprise access may need your organization’s owner to enable it.
/design requires version 2.1.234 or later and an artifact-enabled session. Updating is part of the next step.
Open an existing project, or create a folder for your designs. Keep reference images, your logo, and brand notes close by.
Have the code for the design system you want to import. Only have a logo and brand guide? There’s an asset-based route in step 05.
Official reference: Artifact availability & account access ↗
Choose your operating system. Run the installer in your computer’s Terminal or PowerShell, then open a new terminal window.
Open Terminal and run:
curl -fsSL https://claude.ai/install.sh | bashOpen PowerShell and run:
irm https://claude.ai/install.ps1 | iexConfirm that the install is working:
claude --version
claude doctorFor a native install, run claude update, then restart Claude Code. For a Homebrew install, use brew upgrade claude-code; for WinGet, use winget upgrade Anthropic.ClaudeCode. Update through the method you originally used.
claudeIf you’re already in Claude Code and need to sign in again, type /login. From this point on, slash commands go inside the Claude Code conversation.
Checkpoint: you can see Claude Code’s conversation and type a message.
Official reference: Install and update Claude Code ↗
Official reference: Start your first session ↗
Type /design followed by what you want to make. For a result like the reel, attach a few visual references and tell Claude the format, subject, and brand direction.
/design Create three 9:16 posters for my AI workshop. Use the attached references, black and orange brand colors, and the headline “Create with AI.”Add your logo, a small set of references, and the actual words you need in the design. Put recurring brand rules in your project’s CLAUDE.md so they’re easy to reuse.
For a 9:16 poster, look at it on your phone. Check the headline, contrast, cropping, and space for platform overlays before you export.
Official reference: Create and refine a design canvas ↗
/design-sync takes an existing React design system from your repository and brings it into Claude Design. Start Claude Code inside the repo containing your components and design tokens.
/design-sync/design-loginComplete the Claude account authorization. This connects design-system access separately from your normal Claude Code login.
/design-syncYou can add a project hint, such as /design-sync My Brand. Follow the questions Claude presents about your project and let it finish converting and validating the components.
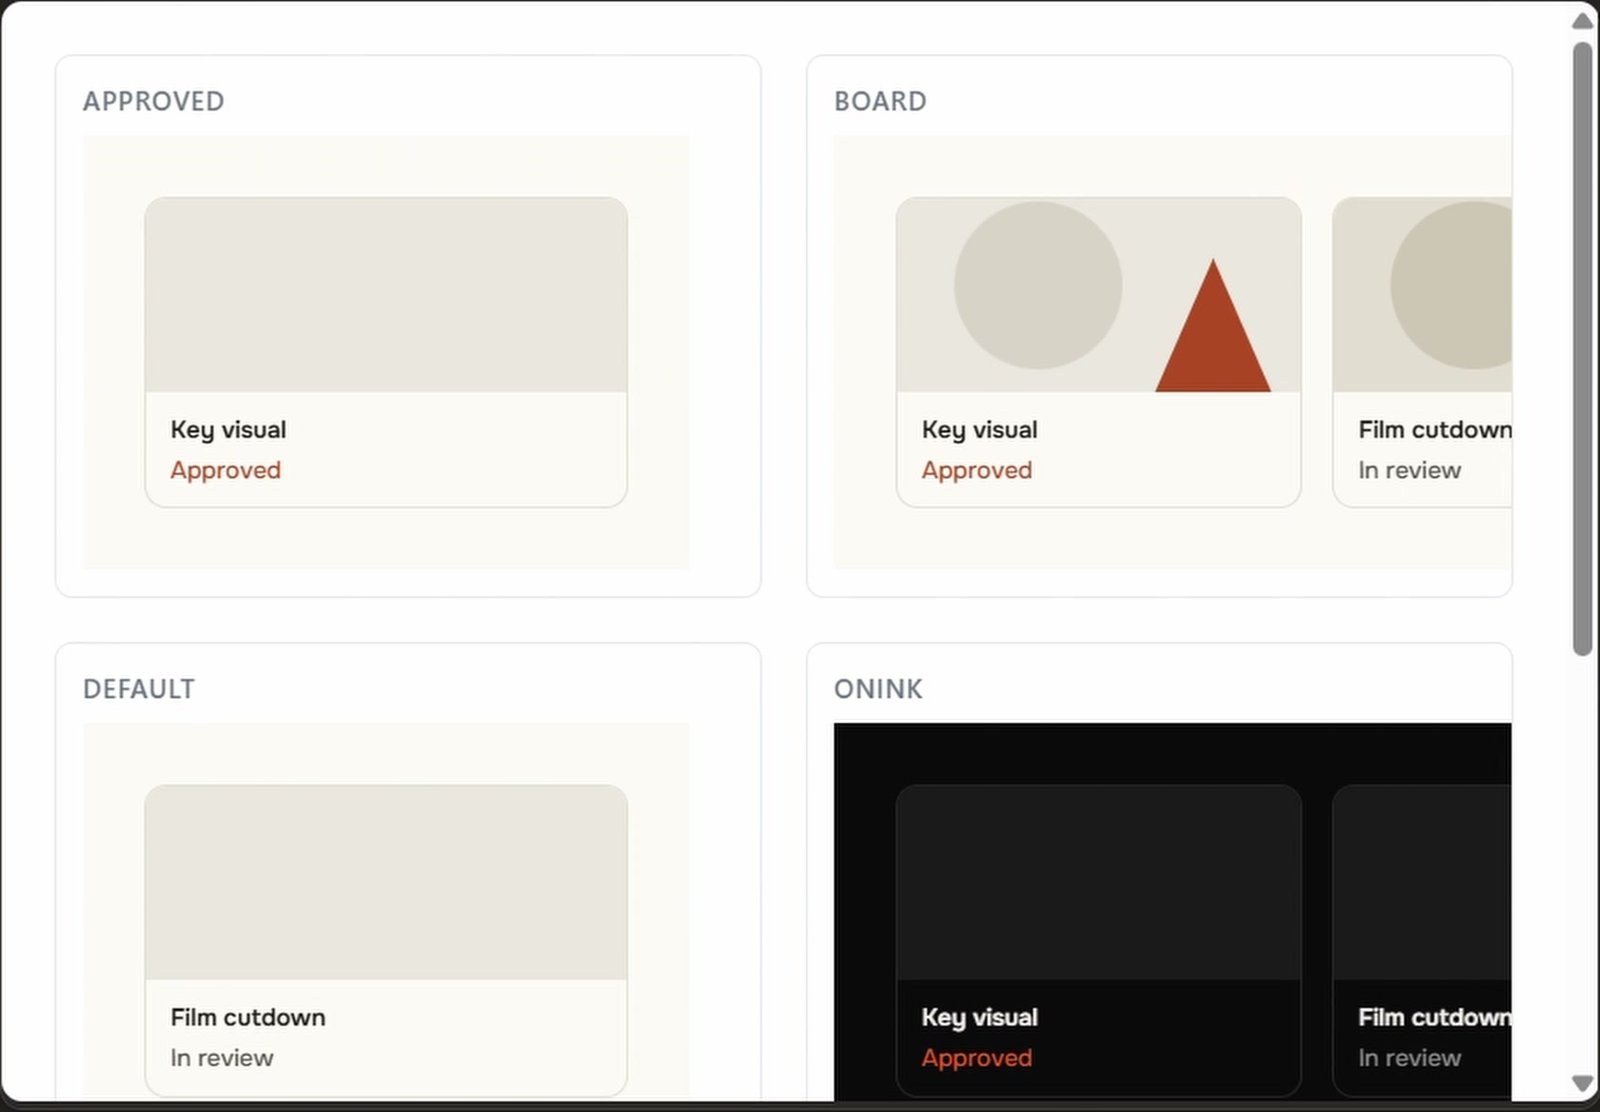
The initial run validates every component. A large library can take hours. Read the progress and resolve any reported component issues before using the imported system.
Official reference: /design-login and /design-sync command reference ↗
Open Claude Design with the account you used to authorize the sync. Find your imported system and use it for a small test project.
/design-sync again and inspect the refreshed result.Use Claude Design’s design-system setup with your logo, color palette, fonts, screenshots, and brand documents. Review what it extracts and test a sample project. In the standalone setup, publish the system when it’s ready for your organization to use.
Using Design inside Claude instead? To bring an existing standalone system into the integrated experience, open the Design tab and choose Migrate team design systems. Complete any cleanup Claude offers. You can then manage your systems in Settings → Design systems.
Keep a short brand checklist next to your first design: one heading, one body paragraph, one button, and one card. It’s a quick way to spot a font or spacing mismatch before building a whole page.
Official reference: Set up a design system from code or brand assets ↗
Official reference: Find and use Design in Claude ↗
Export the approved design as PNG or PDF. Check the final text, image quality, and dimensions before sharing it.
Choose an artboard and tell Claude Code to implement that direction in your project. In Claude Design, you can also use Export → Handoff to Claude Code.
Review the implementation in the browser. Test mobile width, navigation, forms, and button states. A good-looking artboard is the starting point; these checks make it usable.
Your complete loop: describe → design → refine → implement → review.
Official reference: Design-to-code workflow ↗
Official reference: Export and hand off a design ↗
Open a new terminal after installing, then try claude --version. If it still fails, check the installer’s PATH instructions and run through the official installation fixes. If you have multiple installs, check which -a claude on Mac/Linux or where.exe claude on Windows.
Check claude --version in your terminal. Update to 2.1.234 or newer and restart. Inside Claude Code, use /help to check available commands. Sign in with /login and confirm Artifacts are available for your account and organization. An API-key-only session can’t publish these artifacts.
Run /design-login and finish its browser authorization with the correct Claude account. The design-system connection has its own login flow. If you’re in a managed workspace, confirm access with its owner. Check the command reference for provider availability.
Use the brand-asset setup in step 05. Start with your logo, fonts, colors, and a few good examples. The repository-based /design-sync flow is built around React design systems.
Large component libraries need time for conversion and validation. Keep an eye on the progress output. If Claude reports a failure, address that specific component or dependency and retry; don’t assume a long initial run has frozen.
Saving depends on the features available in your session. You may still be able to view and export PNG or PDF. Check artifact availability and your organization’s settings.
Official reference: Troubleshoot installation and sign-in ↗
Researched against Anthropic’s documentation and paired with the workflow from my reel. Checked September 17, 2026. Menu names and availability can change as Claude Design develops.
Keep the workflow close
Save the complete guide, commands, and official references for your next project.